

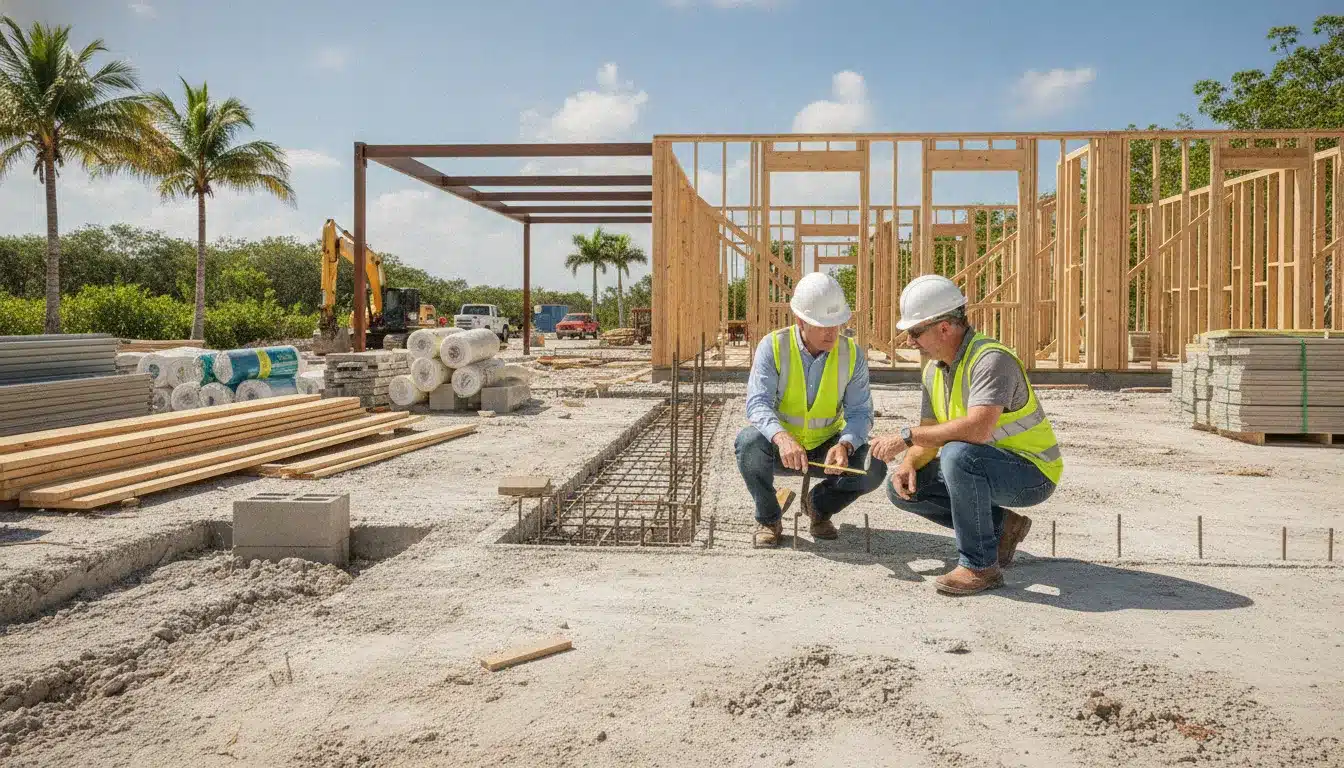
A florida building inspection checklist gives the superintendent and trade contractors a controlled way to confirm that permitted work is ready before an inspector arrives. It does not replace approved plans, permit conditions, or AHJ instructions. It helps the project team verify visible work, documentation, access, and trade coordination before a concealed-condition milestone.
Florida construction inspections commonly follow the point at which work will soon be covered by concrete, backfill, insulation, drywall, ceilings, or finishes. A project may include footing, foundation, framing, electrical, plumbing, mechanical, insulation, fire, site, and final inspections. The exact sequence depends on the permit scope, approved plans, construction type, and local building department.
Florida Building Code Section 110.3 is the starting point for understanding inspection administration. But the adopted code edition and the local AHJ control the inspection list for a specific permit. Use the Florida Building Code online search and the building department’s published requirements together. Florida Statute 553.791 also addresses private-provider building code inspection services where the statutory conditions apply. Review Florida Statute 553.791 before assigning inspection responsibilities.
This guide translates those requirements into a field-ready sequence for commercial, industrial, multifamily, and complex construction teams. The goal is not to promise that every project follows one statewide checklist. The goal is to give the project manager a repeatable control that can be aligned with the permit and AHJ.
How Should a Florida Building Inspection Checklist Be Organized?
Organize the checklist around release points. Each release point should identify the inspection type, permit or trade, responsible person, latest approved plan revision, visible work, required tests, and documents that must be available. A generic note such as “ready for inspection” is not enough for a complex project.
| Construction stage | Work to keep visible | Pre-request controls |
|---|---|---|
| Footing and foundation | Excavation, forms, reinforcement, embeds, anchors | Layout, dimensions, bearing conditions, access, structural details |
| Framing and structural | Connections, openings, load paths, penetrations, blocking | Latest plans, fastening, tie-ins, delegated design, special inspections |
| MEP rough-in | Routes, sleeves, supports, boxes, piping, ductwork | Trade coordination, clearances, required tests, rated assemblies |
| Insulation | Coverage, continuity, inspection points, air-sealing conditions | Rough-in approvals, correction closeout, access to concealed work |
| Final and closeout | Completed permitted scope and life-safety elements | Trade finals, reports, affidavits, CO or TCO prerequisites |
Start with the permit card and approved plan set. Record the sheets that control structural connections, equipment schedules, fire-rated assemblies, accessibility features, and trade routing. Keep the current revision in the field and remove superseded copies from the inspection file.
Before each request, assign one inspection coordinator to confirm that the site is accessible and that every affected trade has closed its preparation items. The coordinator should also record the request date, inspection disposition, corrections, responsible owner, reinspection date, and evidence of closure. This process connects the field walk to the project’s schedule instead of treating inspection as an isolated appointment.
For an eligible project, the owner or an authorized contractor may select private-provider building code inspection services under Florida Statute 553.791. That choice does not eliminate the need to follow the approved plans, permit conditions, adopted code, or local procedures. Confirm the responsibilities of the private provider, contractor, design team, and building official before the first request.
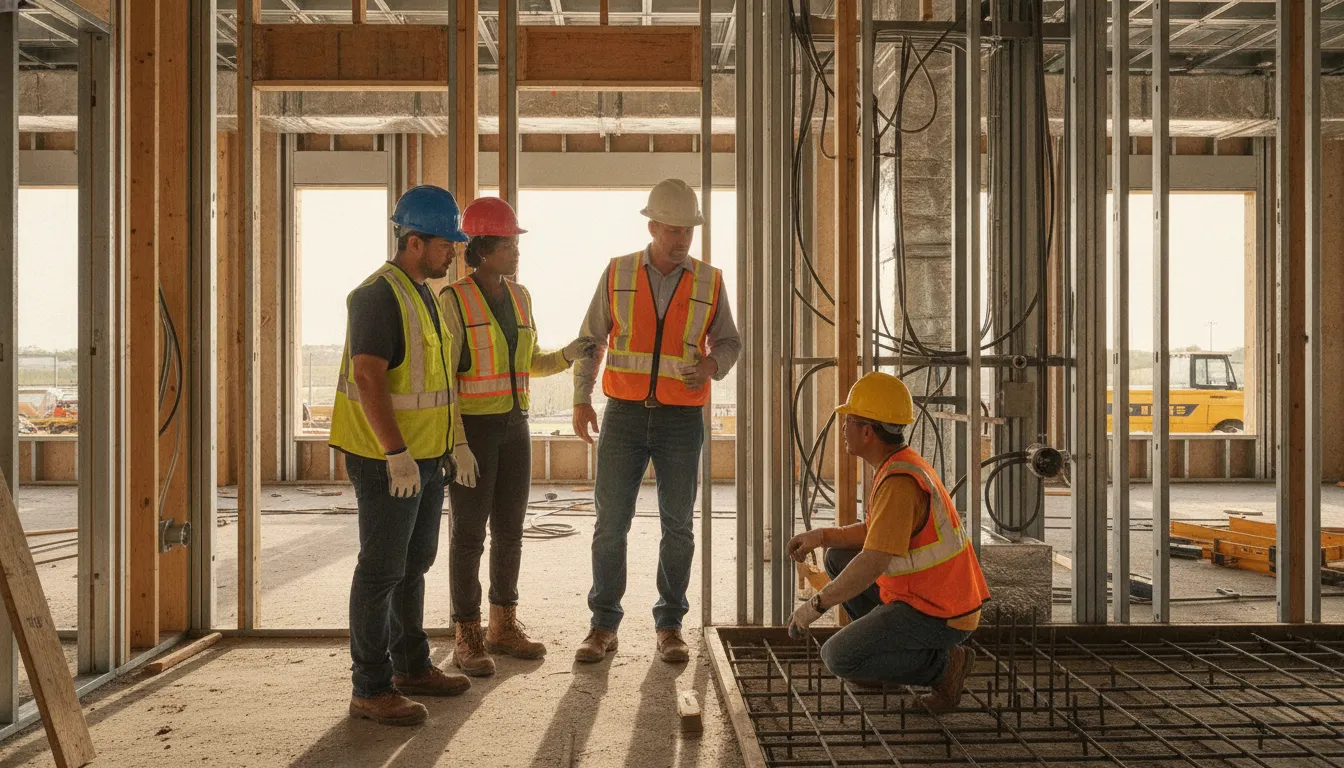
Use a pre-inspection field walk
Walk the area with the superintendent and affected foremen before submitting the request. Compare field conditions against the latest approved sheets. Verify dimensions, locations, fastening, penetrations, supports, equipment clearances, access, and visibility.
- Identify every item that will be concealed after the inspection.
- Match each item to a plan sheet, detail, specification, or permit condition.
- Confirm required tests, reports, photos, affidavits, and certificates.
- Resolve unapproved field changes through the design and AHJ process.
- Assign corrections to a named person and record closure evidence.
What Do Inspectors Check at Footing and Foundation Inspections?
Footing and foundation inspections occur before concrete, backfill, or another operation conceals the conditions under review. Inspectors generally compare the installed work with the approved structural drawings and applicable code requirements. The AHJ’s inspection scope remains controlling because soil conditions, foundation systems, project type, and local requirements vary.
Begin with excavation and bearing conditions. Check the location, width, depth, elevations, steps, setbacks, and bearing surfaces shown in the approved documents. Remove loose material and resolve standing water or unsuitable conditions before requesting the inspection. If the geotechnical report or structural documents impose additional requirements, keep those documents available for the project record.
Review forms for line, grade, dimensions, elevation changes, thickened areas, steps, and stability. Confirm property-line relationships and required clearances against the survey and approved plans. A field adjustment that seems minor can create a correction if it changes the permitted design or conflicts with a surveyed location.
Reinforcement should match the approved size, spacing, laps, bends, supports, dowels, and cover. Verify grade beams, pile caps, vertical bars, hold-downs, and other elements shown in the structural details. Reinforcement must remain visible and accessible until the inspection is complete.
- Excavation: Confirm location, depth, dimensions, bearing condition, drainage, and access.
- Forms: Verify line, grade, setbacks, steps, elevations, dimensions, and stability.
- Reinforcement: Check bar size, spacing, laps, bends, supports, dowels, and cover.
- Embeds and anchors: Confirm anchor bolts, plates, straps, sleeves, hold-downs, and other specified connections.
- Documentation: Keep permits, approved plans, engineering documents, survey information, and required reports available.
Coordinate embeds and anchorages with the concrete, structural, and framing teams. Their location affects later walls, columns, equipment, and tie-downs. Compare the installation with the latest approved detail, and document any approved revision rather than relying on verbal field direction.
For threshold buildings, the project team must coordinate qualified parties and the structural inspection plan required for the work. The Florida Building Commission’s threshold-building staff analysis discusses private-provider and threshold-inspection considerations. Confirm the current project requirements with the design professional and AHJ before setting the structural inspection workflow.
A footing or foundation request should be made only after the area is ready, the work is exposed, and the records support the exact installation. This stage is an early schedule gate. Corrections here can affect concrete placement, framing dates, and downstream trade access.
What Changes at Framing and Structural Inspections?
Framing inspections shift attention from below-grade layout to structural continuity, connections, openings, load paths, and concealed conditions. Begin with the approved structural plans, approved revisions, inspection notes, and delegated-design documents. Confirm that the field installation matches the latest approved set.
Check beams, columns, bearing points, hangers, clips, straps, anchors, blocking, headers, lintels, and rough openings. Review fastening patterns, fastener types, edge distances, and installation details against the structural documents. In Florida’s wind regions, coordinate roof-to-wall and wall-to-foundation connections as a continuous load path rather than reviewing each connection in isolation.
Penetrations require trade-level coordination before walls and ceilings close. Mechanical, electrical, and plumbing routes can affect beams, joists, shear elements, fire-resistance assemblies, and rated shafts. Each trade should identify sleeves, hangers, supports, and penetrations before concealment. Resolve conflicts through the design professional or approved revision process.
Protect the structural inspection record
Keep inspection reports, special-inspection records, structural observation reports, correction notices, and closeout evidence with the permit file. For threshold work, align the threshold inspector, structural engineer, contractor, special inspectors, and building official before framing milestones. Confirm who observes each scope, who documents findings, and how reports reach the AHJ.
Do not treat a visual walk-through as a substitute for plan coordination. A missed connection or concealed penetration can require destructive investigation and corrective work. It can also delay insulation, drywall, finishes, and trade sequencing.
Before requesting the framing inspection, confirm safe access, adequate lighting, visible work, organized records, and the absence of unresolved prior corrections. If the project uses private-provider services, define the inspection path and reporting responsibilities before the request. The local building official’s regulatory role remains part of the statutory framework under Florida Statute 553.791.
How Should Contractors Prepare for MEP Rough-In and Insulation?
MEP rough-in inspections require electrical, plumbing, and mechanical scopes to be coordinated before work becomes concealed. Use one shared field review with the superintendent, trade foremen, design team, and inspection coordinator. Confirm that field changes have followed the approved process.
Electrical preparation includes panel locations, service routes, branch-circuit paths, boxes, grounding provisions, equipment clearances, and accessible disconnects. Plumbing preparation includes supply lines, sanitary and storm piping, slopes, cleanouts, valves, fixtures, access points, sleeves, and required pressure tests. Mechanical preparation includes duct routes, refrigerant piping, condensate drainage, equipment supports, ventilation paths, and service clearances.
Use the related commercial mechanical permit requirements guide when coordinating the mechanical scope. The project’s approved plans and AHJ instructions remain controlling. An internal guide can support preparation, but it cannot replace the permit documents. For electrical scope coordination, review the commercial electrical permit requirements guide as a companion reference.
Inspect every penetration through rated walls, floors, shafts, and other assemblies. Confirm sleeves, blockouts, firestopping conditions, supports, and access points. Do not cover a condition that still requires an inspection, test, or required record.
Insulation should follow the relevant rough-in approvals and correction closeout. Keep junction boxes, valves, dampers, cleanouts, equipment labels, and other inspection points accessible where required. Photographs can support project records, but they do not substitute for an AHJ or authorized inspection when one is required.
- Confirm current plans, permit cards, trade documents, and approved revisions.
- Coordinate routes, sleeves, supports, equipment clearances, and rated penetrations.
- Complete pressure tests and other required trade tests before requesting inspection.
- Resolve conflicts with structural members and fire-rated assemblies.
- Keep rough-in and insulation conditions visible until the required release occurs.
- Track corrections by location, trade, responsible person, and closeout evidence.
Review inspection management support
What Does the Final Building Inspection Checklist Include?
Final inspection readiness means that the permitted scope is complete, visible requirements are resolved, and the built work matches the approved plans. Walk every permitted area before requesting the final. Complete construction should include the finishes, fixtures, equipment, guards, doors, hardware, and other elements shown in the approved documents.
Compare field conditions with the latest approved plan set. Resolve unapproved changes through the AHJ before the final request. Confirm that the permit remains active, required inspections are recorded, prior corrections are closed, and all areas are safe and accessible.
Review life-safety and accessibility items
Review egress paths, exit access, handrails, guards, fire-resistance features, emergency systems, and required safety equipment as applicable to the occupancy and approved design. Verify accessible routes, clearances, door operation, restroom features, parking elements, and other approved accessibility details where applicable.
Do not treat the building final as a replacement for trade finals. Electrical, plumbing, mechanical, fire, elevator, site, or other specialized approvals may require separate inspections and documentation. Coordinate equipment startup requirements, test reports, certifications, firestopping records, and manufacturer documentation when the permit or AHJ requires them.
Prepare closeout documents
Assemble the closeout package before scheduling. Depending on the jurisdiction and project, it may include as-built information, inspection reports, test results, product approvals, engineer certifications, special-inspection records, and signed affidavits. A local form is not automatically a statewide rule. For example, Santa Rosa County publishes a site-plan final inspection request form, so the project team should verify the applicable form and process with its own AHJ.
Confirm that final building and trade approvals support the requested certificate of occupancy or temporary certificate of occupancy. A CO or TCO can depend on unresolved documentation, life-safety approvals, and occupancy-specific conditions beyond the building final itself.
How Can a Project Team Pass the First Inspection?
First-pass readiness depends on preparation before the request, not on quick corrections after an inspector arrives. Repeat the following control at every milestone.
- Confirm the scope. Identify the permit, inspection type, responsible trade, current plan revision, and AHJ prerequisites.
- Walk the work. Compare visible conditions with plans, details, specifications, and approved revisions.
- Protect access. Keep concealed work visible and provide safe, unobstructed access to inspection areas.
- Complete tests. Finish required pressure tests, equipment tests, reports, affidavits, and certifications.
- Coordinate trades. Resolve penetrations, sleeves, supports, clearances, rated assemblies, and sequencing conflicts.
- Close corrections. Assign every correction, document the remedy, and request reinspection only after verification.
- Update the record. Store the disposition, evidence, and next milestone with the permit file.
Use the same workflow for footing, foundation, framing, MEP rough-in, insulation, and final stages. The checklist should be updated when plans, permit conditions, inspection procedures, or responsible parties change. A current record gives the project manager a clearer view of schedule exposure.
All Florida Permits supports Florida construction teams with permit coordination, inspection management, and jurisdiction-aware permitting guidance. Explore third-party inspection scheduling in Florida for related coordination considerations.
Frequently Asked Questions
What inspections are needed when building in Florida?
Required inspections depend on the approved plans, permit scope, construction type, and local AHJ procedures. A common sequence includes footing, foundation, framing, MEP rough-ins, insulation, and final inspections. Trade permits can add separate electrical, plumbing, mechanical, fire, site, or specialized inspections. Confirm the complete sequence with the building department before scheduling work.
What can fail a Florida building inspection?
Common correction triggers include work that differs from approved plans, concealed components that were not released, missing documentation, inaccessible equipment, incomplete trade work, and unresolved prior corrections. The exact deficiency depends on the code provision and project scope. A pre-inspection walk with the superintendent and affected trades can identify many issues before the official visit.
What should contractors have ready for an inspection?
Keep the permit card, approved plan set, inspection history, required reports, product or engineering documentation, and trade test records available when applicable. The site should be safe and accessible. Work should remain visible when the inspection requires concealed components to be verified. Local instructions control which documents must be present.
Can a private provider perform Florida building inspections?
Florida Statute 553.791 allows a fee owner, or a contractor with written authorization, to choose a private provider for building code inspection services in applicable circumstances. The statute limits services to the provider’s qualifying discipline and preserves the need to follow approved plans, permit conditions, and applicable code requirements. Confirm eligibility and procedures with the building official before relying on that inspection path.
What happens after an inspection fails?
Read the inspection result, identify each correction, assign responsibility, and document the completed remedy. Do not conceal corrected work until the AHJ or authorized inspection path confirms the next required step. Schedule a reinspection only after the project team verifies that every listed item is closed. Keep the updated record with the permit file.